Your 3D Journey
Interested in 3D printing? Want to know about the many ways this technology can help with your classes? The duPont-Ball library is here to help. We have thirteen 3D printers available for use in our lab, along with two 3D scanners. You can use the printers to 3D print from pre-made files, from your own models, or from a scan of your favorite object.
3D printers are available for current students, staff, and faculty. All standard 3D printing jobs must be finished before closing time. [businesshoursweek collapsible=”true”]
If you are interested in learning more about 3D Printers and how they function, check out this great resource at: https://www.hubs.com/guides/3d-printing.
3D Printers

Whether you’re a seasoned 3D Printing ace or just starting out, our MakerGear M2, Ultimaker 3 Extended, Ultimaker S5, Sigma R19, and Prusa machines are available for use anytime the library is open. No reservations required, just come on in and start printing! All these printers can be run using the Makerbot, Simplify3D and Cura Software installed on our lab computers.
Like Video Tutorials? We have some listed below the images of our equipment to help you get acquainted with their use. Click the below printer categories to browse the equipment. Also, our LibGuide will introduce step by step tutorials and info related to each printer.
Printing Standards:
PLA filament. Standard .4mm/.35mm nozzle used.
Ultimaker’s allowed Nozzle size changes. Ask Lab Tech.
Watch first 2 layers to confirm good bed adhesion.
When removing models, please exercise caution.
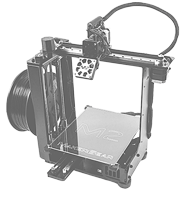
MakerGear M2
1.75mm filament
Build Volume: 8″ L x 10″ W x 8″ H
Max Extruder Temp: 300° C
Max Heated Bed Temp: 110° C
Resolution: 50 – 300 microns
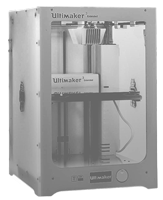
Ultimaker 3 Extended
2.85mm filament
Build Volume: 8.5″L x 8.5″W x 11.8″H
Max Extruder Temp: 280°C
Max Heated Bed Temp: 100°C
Resolution:
| .25mm nozzle | 60-150 microns |
| .4mm nozzle | 20-200 microns |
| .8mm nozzle | 20-600 microns |
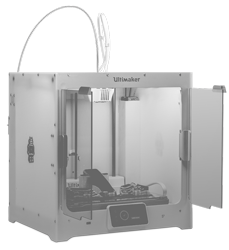
Ultimaker S5
2.85mm filament
Build Volume: 13″L x 9.4″W x 11.8″H
Max Extruder Temp: 280°C
Max Heated Bed Temp: 140°C
Resolution:
| .25mm nozzle | 60-150 microns |
| .4mm nozzle | 20-200 microns |
| .6mm nozzle | 20-300 microns |
| .8mm nozzle | 20-600 microns |
Prusa
1.75mm filament
Build Volume: 8″ L x 10″ W x 8″ H
Max Extruder Temp: 300° C
Max Heated Bed Temp: 110° C
Resolution: 50 – 300 microns

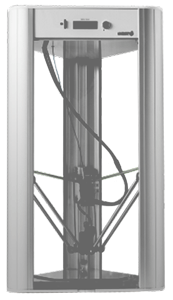
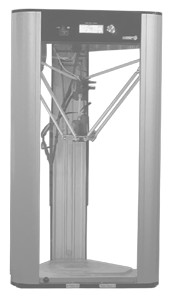
Delta Wasp 2040
*20 minute Tutorial required before use
1.75mm filament
Build Volume: 7.9″LW(circle) x 15.7″H
Max Extruder Temp: 260°C
Max Heated Bed Temp: 100°C
Resolution: 50 – 300 microns
Delta Wasp Turbo
*20 minute Tutorial required before use
1.75mm filament
Build Volume: 7.9″LW(circle) x 15.7″H
Max Extruder Temp: 270°C
Max Heated Bed Temp: 120°C
Resolution: 50 – 300 microns
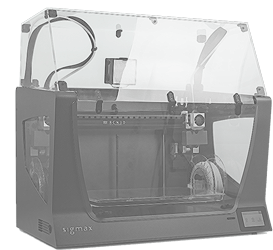
Sigma R19
Various filament types
2.85mm filament
Build Volume: 11.7″L x 8.25″W x 8.25″H
Max Extruder Temp: 290° C
Max Heated Bed Temp: 100° C
Resolution: 50 – 300 microns
*Before using the Delta Wasp, students must take a 10-minute course on its operation. Consult with a tech specialist day-of or use the Innovation Lab Consultation Form to request a time. The Delta Wasp printers are the only general-use printers that have a “resurrection” feature, allowing them to resume long prints after being stopped overnight.
Academic Usage:
Any prints related to a class assignment or prototype creation. This includes faculty needing visual aids created for learning enhancement.
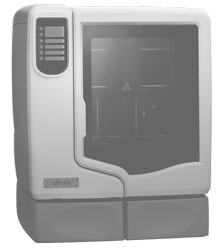
uPrint SE+
ABS filament
Build Volume: 8″L x 8″W x 6″H
This Printer is available by appointment only. You can book this machine by visiting stetson.libcal.com/booking/3DPrinter. Long prints can be paused overnight to get multiple days of printing time.
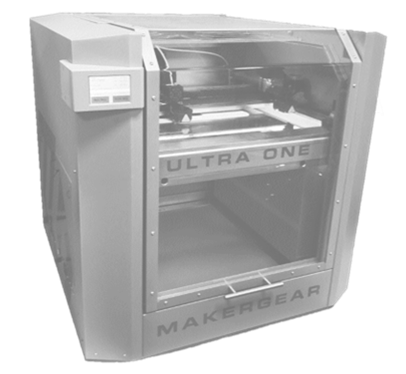
MakerGear Ultra One
PLA filament
Build Volume: 16″L x 14″W x 13″H
The MakerGear Ultra One is our newest and most cutting edge addition to our 3D printer lineup. You can book this machine by visiting stetson.libcal.com/booking/3DPrinter.
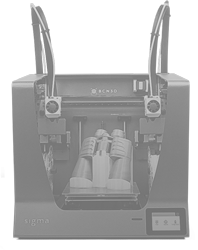
Sigmax R19
2.85mm filament
Build Volume: 11.7″L x 16.5″W x 8.25″H
Max Extruder Temp: 290° C
Max Heated Bed Temp: 100° C
Resolution: 50 – 300 microns
The Sigmax R19 is capable of printing objects in mirror, duplication and various filament combinations. This Printer is available by appointment only. You can book this machine by visiting stetson.libcal.com/booking/3DPrinter.
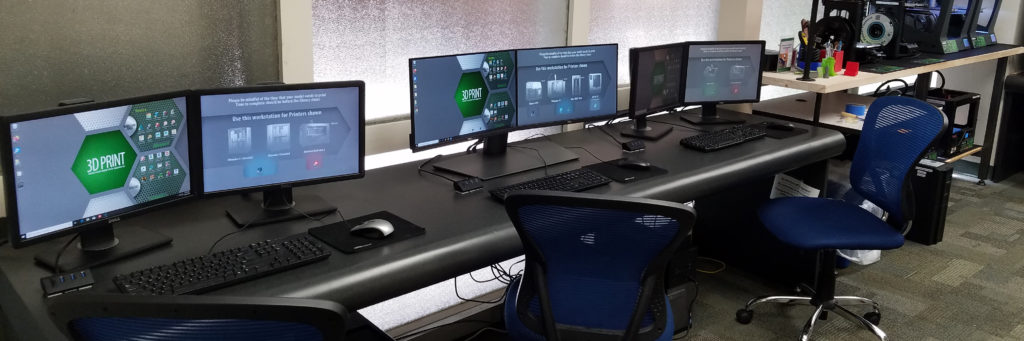
Adjusting for recent space considerations, we have reduced our 3 workstations down to 2 in our 3D printing area. They consist of a dual monitor setup and graphic cards capable of rendering previews quickly. Workstations are set at a safe physical distance from each other with a high flow air filter set between them. Use provided software to create your project digitally or physically with available resources and with remote help from the lab techs.
These workstations are primarily used for creating digital objects or preparing items for 3d printing. Please keep this in mind when you occupy a seat for this workstation.
For ease of use, we have a shared network drive between these 2 workstations. This is so you can continue your work even if the original workstation you created it with is occupied. This drive is formatted every year. There is no guarantee your files will remain so it is a good practice to save it to a secure storage area.
These 2 workstations service different 3d printers. Signage is placed at the workstation and above to help you choose the workstation corresponding to intended 3d printer.
3D scanners
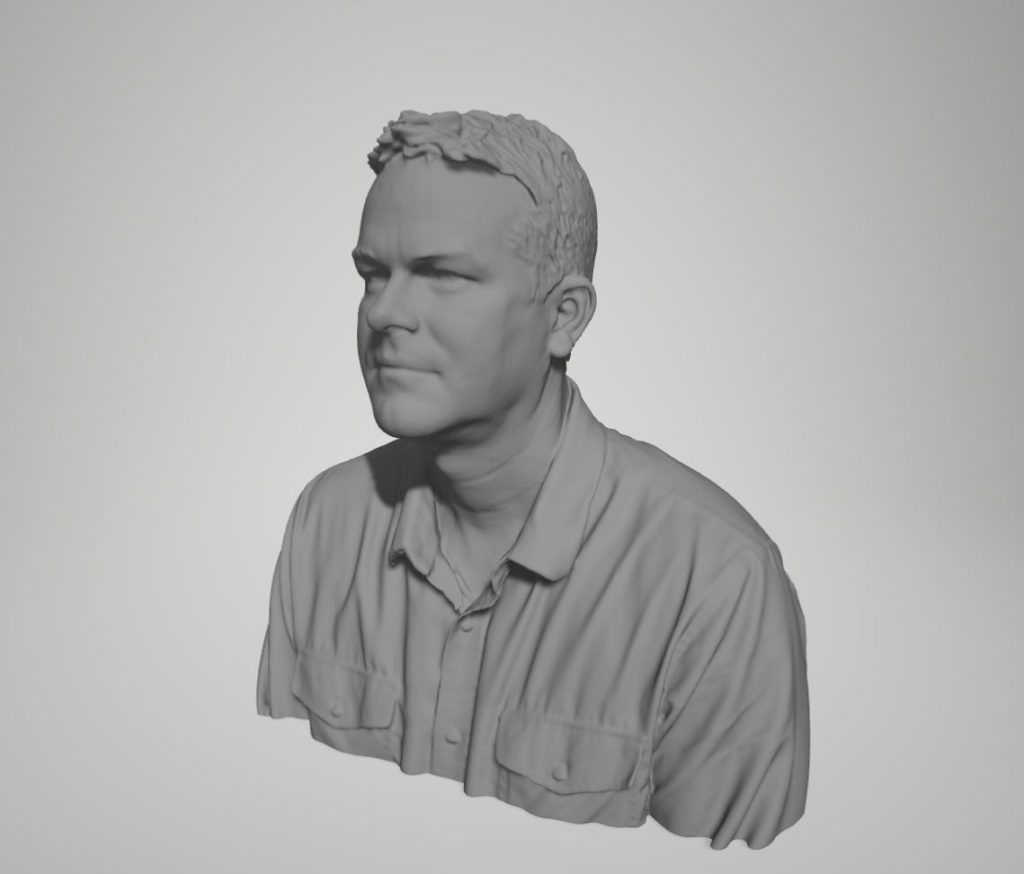
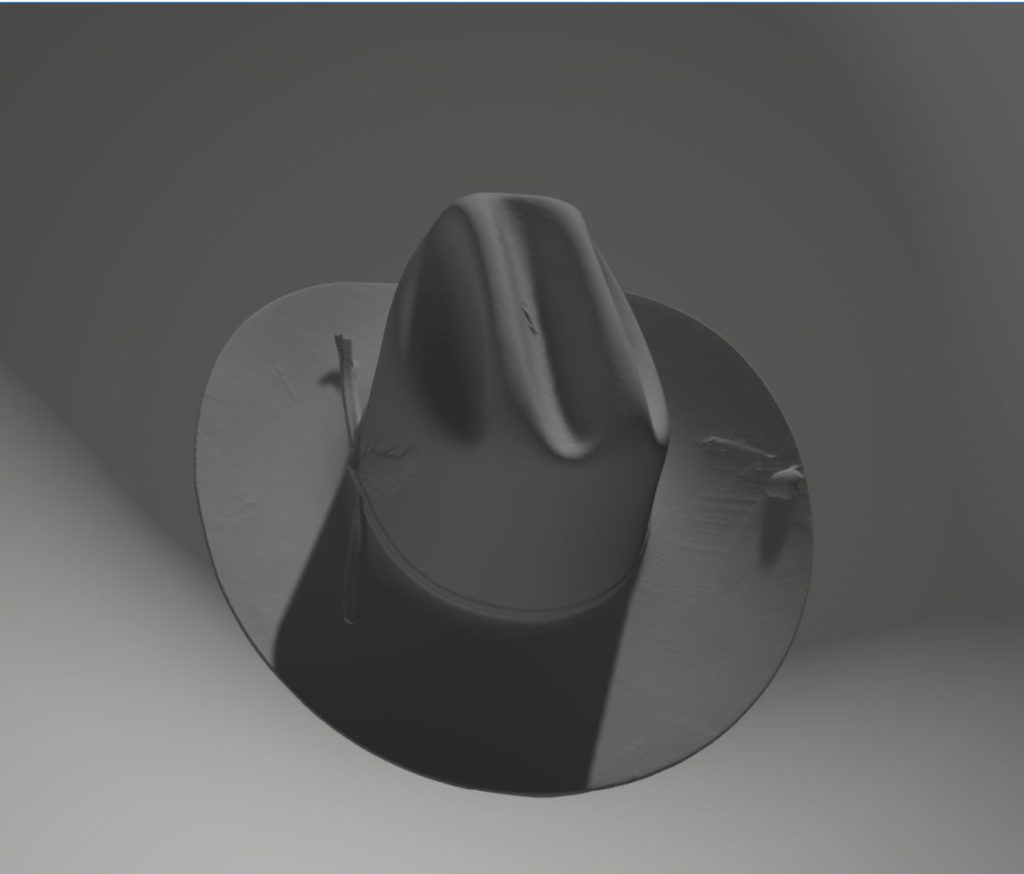
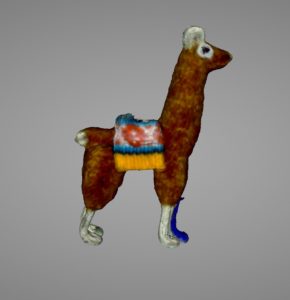
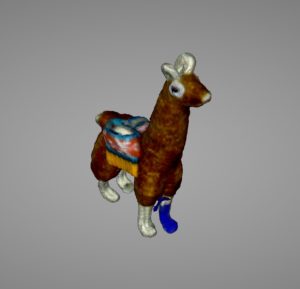
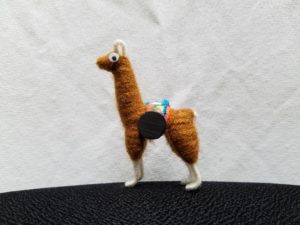
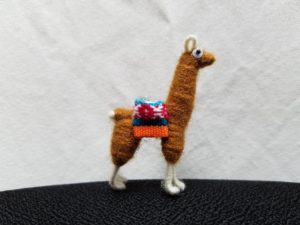
Have a model/sculpture/toy that you would want as a 3D model? Our scanners are capable of capturing these objects and transferring them into a 3D realm with amazing accuracy and detail! This opens up a new level of creativity to manipulate objects in a quick manner or just resize something and perhaps print out a smaller version. Whatever you choose, help from Innovation Lab staff is available to aid in getting the best scan possible.
To get the best scans, consider the size, material, and color of your object. The Artec can scan medium to full size objects while the Einscan is meant for small (20mm^3) to medium objects (basketball size). The object should not be made of transparent, semi-opaque, or shiny material. This affects how the scanning light bounces of the physical geometry and will not result in a good scan. The color cannot be a very dark color or black color. If these properties cannot be avoided, then approach a Lab Tech for methods that could create a scannable surface.
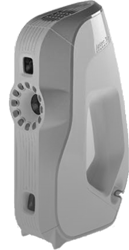
Artec Eva Lite
3D Resolution, up to: .5mm
3D Point Accuracy, up to: .1mm
Working Distance: .4 – 1M
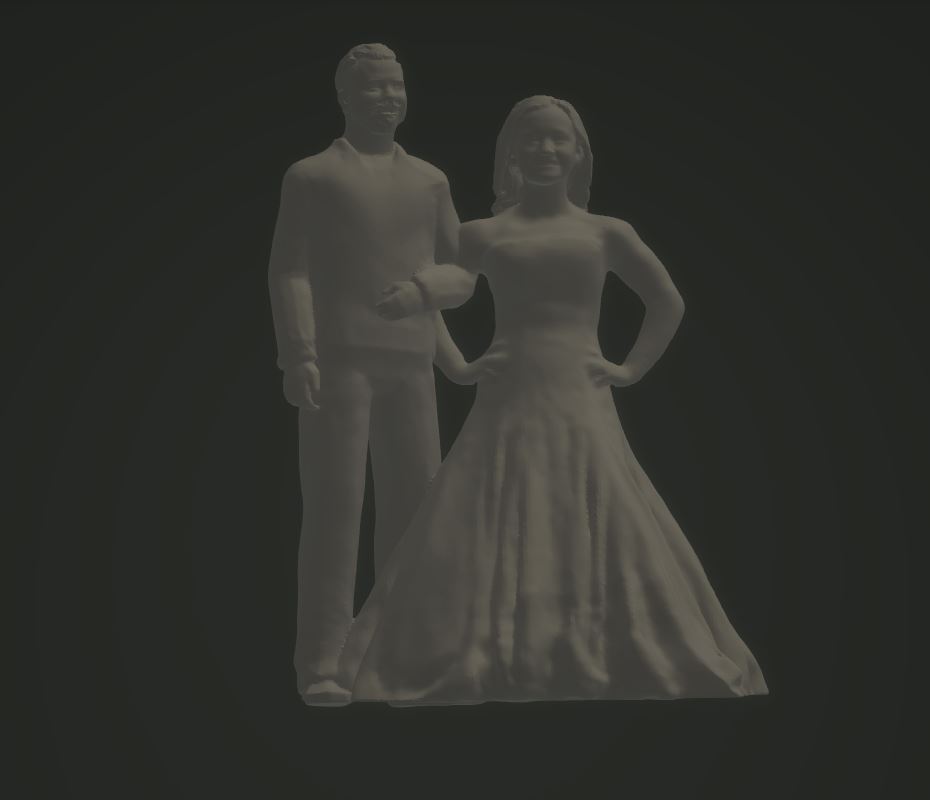
Eva Lite is the budget version of the bestselling white light Arte Eva 3D scanner. It features the same accuracy specs, but with reduced runctionality. Eva Lite has geometry only tracking and capture. As a result, it can be used for making high quality textureles 3D scans when scanning geometrically rich objects such as the human body.
Our Artec 3D scanner scans the geometry of any medium to large sized object with great detail. It has been used to capture portraits, original clay sculptures and entire students among other things. It is used in conjunction with our 3D scanning computer to provide essential processing power when creating a model.
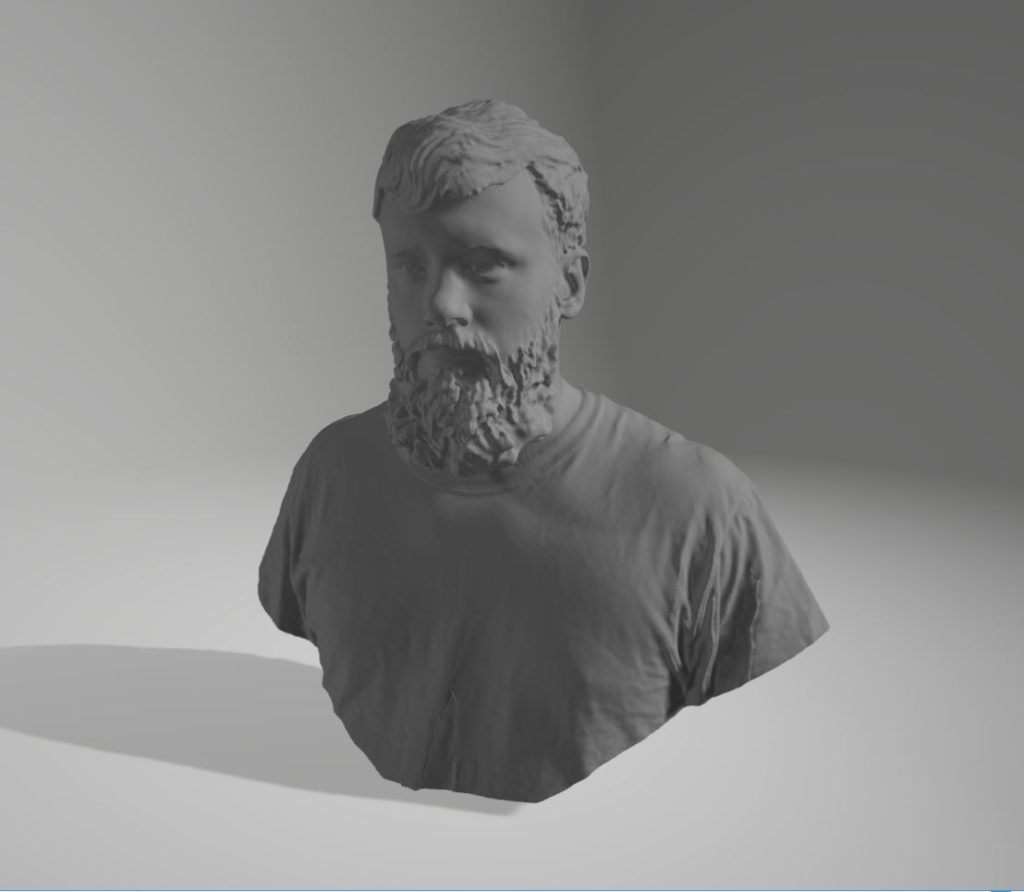

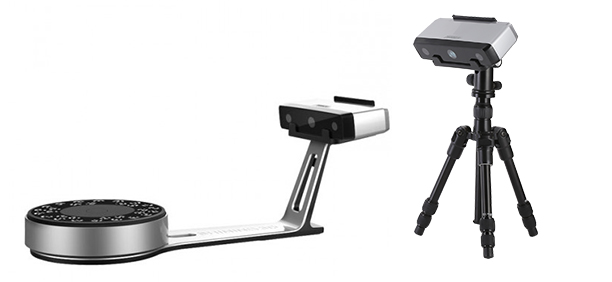
Shining 3D’s Einscan-SP
A great counterpart to our Artec scanner is the Einscan-SP 3D scanner that scans medium to small objects with incredible detail. Use with either the turntable or for slightly larger objects use with provided tripod.
3D Sculpting
In the style of 3d printing, another medium besides plastic has provided a unique outlet for design not easily achievable with previous manual methods. The 3d printer we use is the Delta Wasp 2040 which can convert to a clay printer with the use of a clay extruder kit. Though it can yield very interesting results, it is a labor intensive preparation and requires precision when it comes to the consistency of the clay for best extrusion possible. Since it is clay, the resulting object can be kiln-fired.
In order to take advantage of this feature, an hour long tutorial will be given. During this tutorial, an emphasis on preparation of clay material and the work responsibility of the interested patron will be discussed.
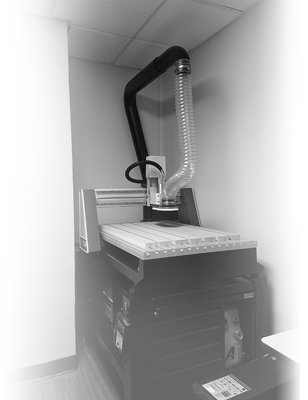
3D CNC
Our Computer Numerical Control (CNC) machine, Axiom Precision AR6 Pro+, is our first computer controlled subtractive manufacturing device. This high powered drill will precisely cut away (subract) layers. As it is a unique way to obtain a form, carving an item in this fashion can have varying results in end quality. Complexity of 3D form may lead to another machine better suited to the task. However, with solid materials being carved, a highlight of using this method is the durability of the end product versus a layered approach from additive 3D printing. So for the 2D, 2.5D, or 3D projects that can be accomplished with this machine, you can expect another level of finished end product. Various cutting bits, clamping devices, and rotary attachment are provided for this workstation. Patron must provide base materials to be used in this machine.
Axiom AR6 Pro+
Spindle Configuration: ER20
Spindle Speed: 0 – 24,000RPM
Max Feed Rate: 200 IMP (5MPM)
Precision Ball Screw on X, Y, Z
Collets: 1/8″ , 1/4″ , 1/2″
3D Point Accuracy, up to: .1mm
Material Dimensions, up to: 24″ x 36″ x 6″
Positional Accuracy: .1mm
Controller:
Tichauto B18 DSP 4-Axis
CNC Motion Control System
USB port for easy file transfer
4th Rotary Axis:
Chuck Capacity: 80mm (3.14″)
Ready to find or create 3D models?
Find a model to print from Thingiverse.com or create your own by following this 3D modeling LibGuide.
